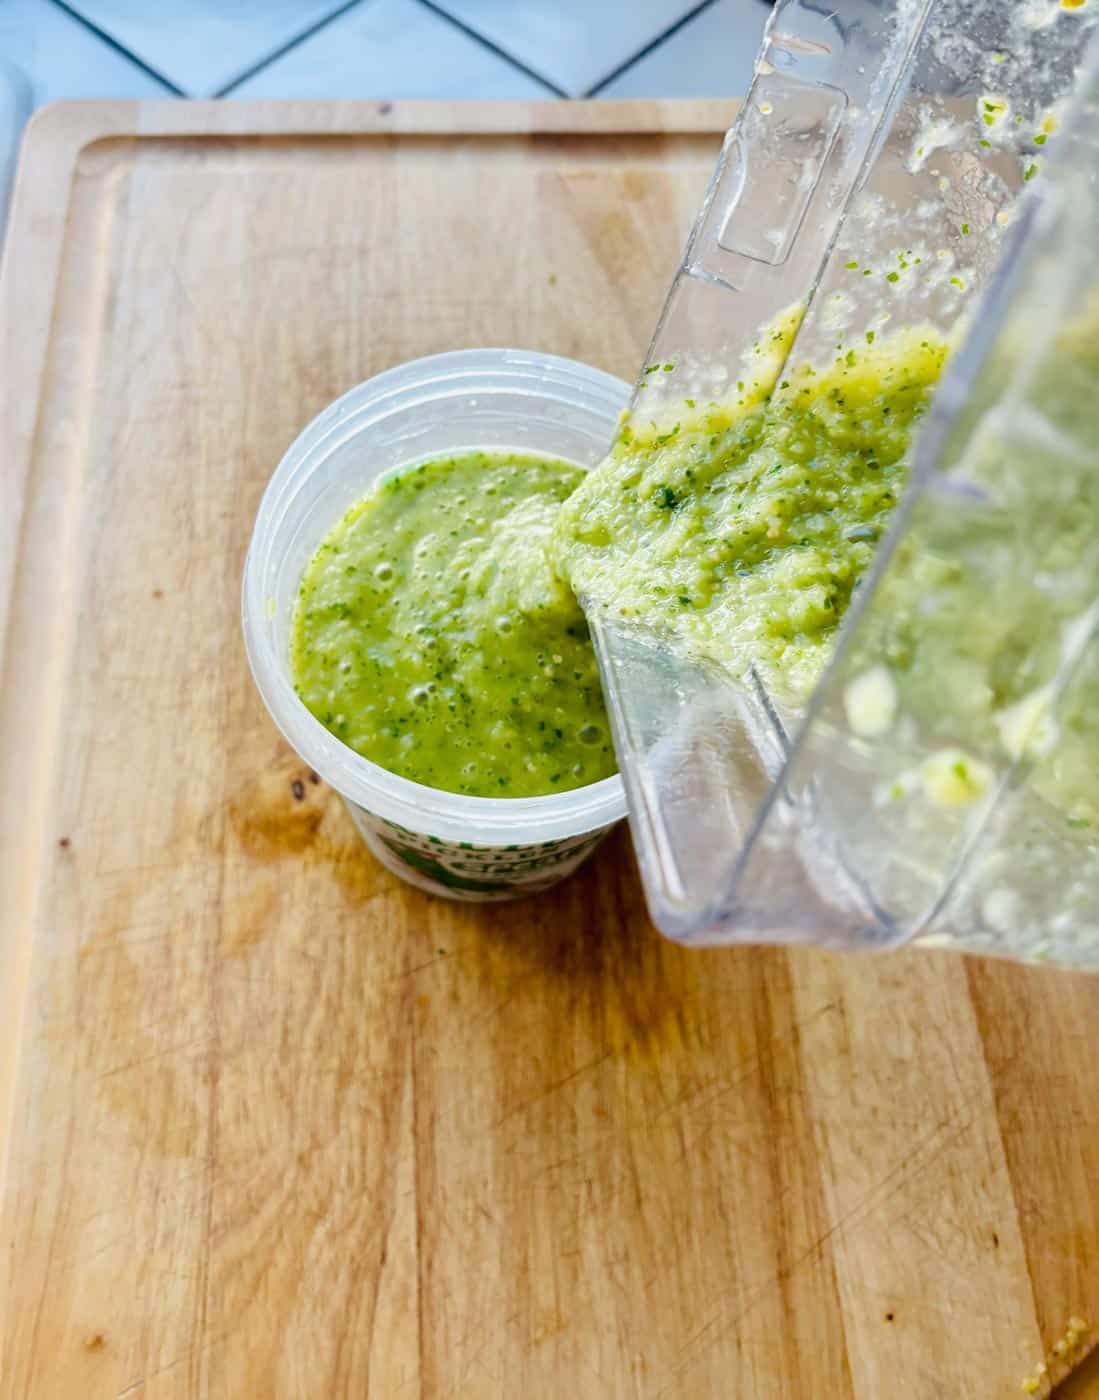
Dill Pickle Salsa
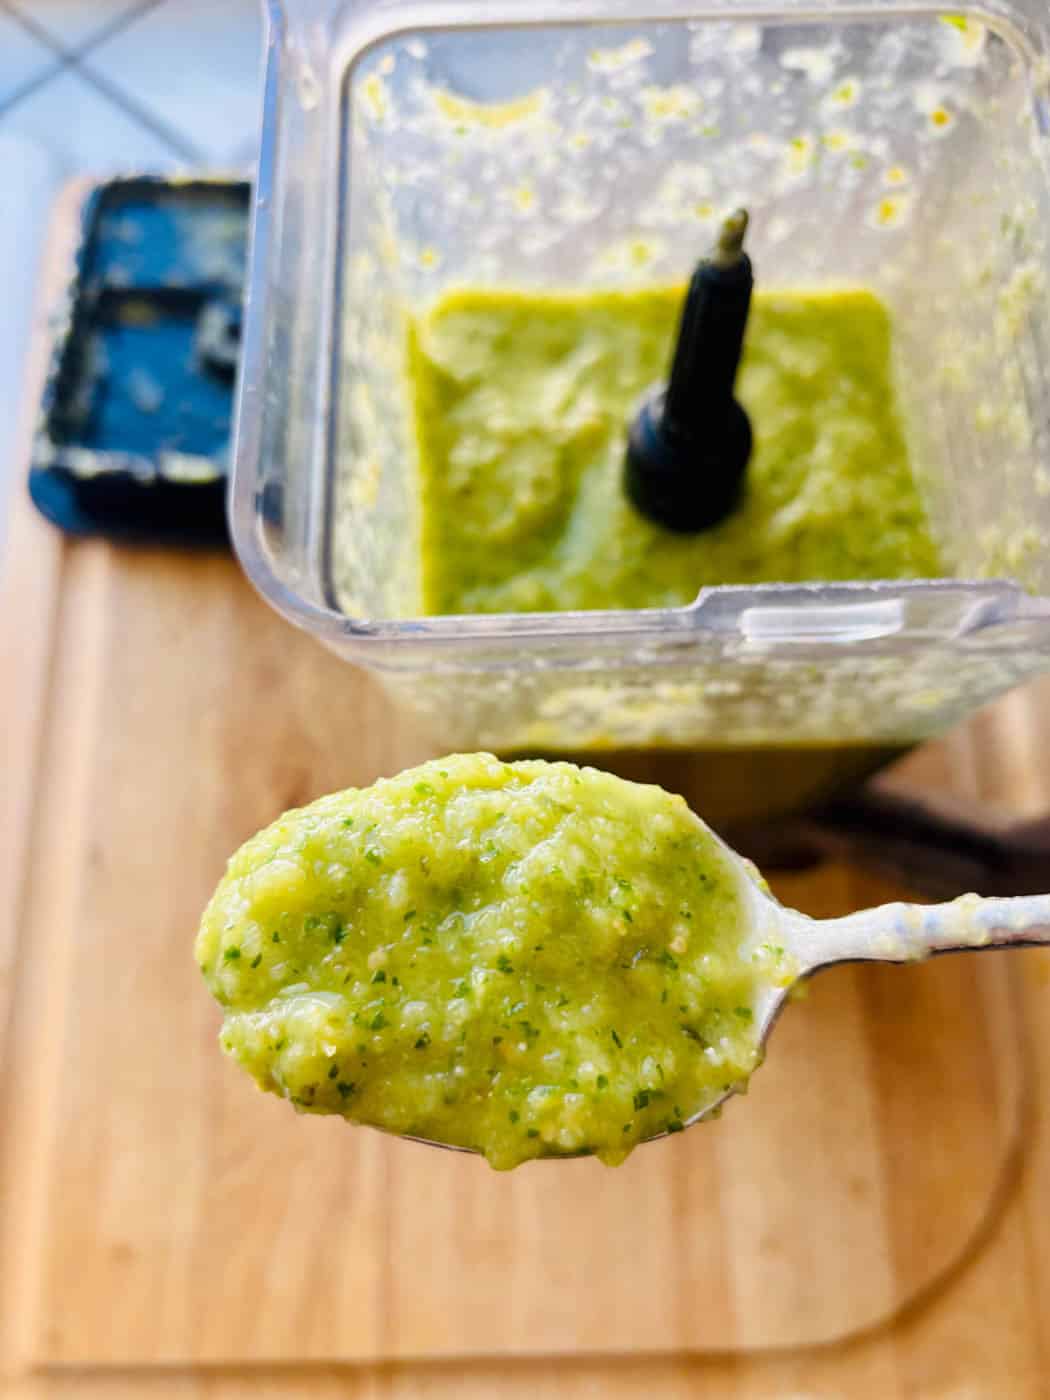
Fresh, green, and pickle-y? Yes! This Dill Pickle Salsa is everything you love in a green salsa with the addition of some briny tang. It's delicious with tacos, tortilla chips, and scrambled eggs!
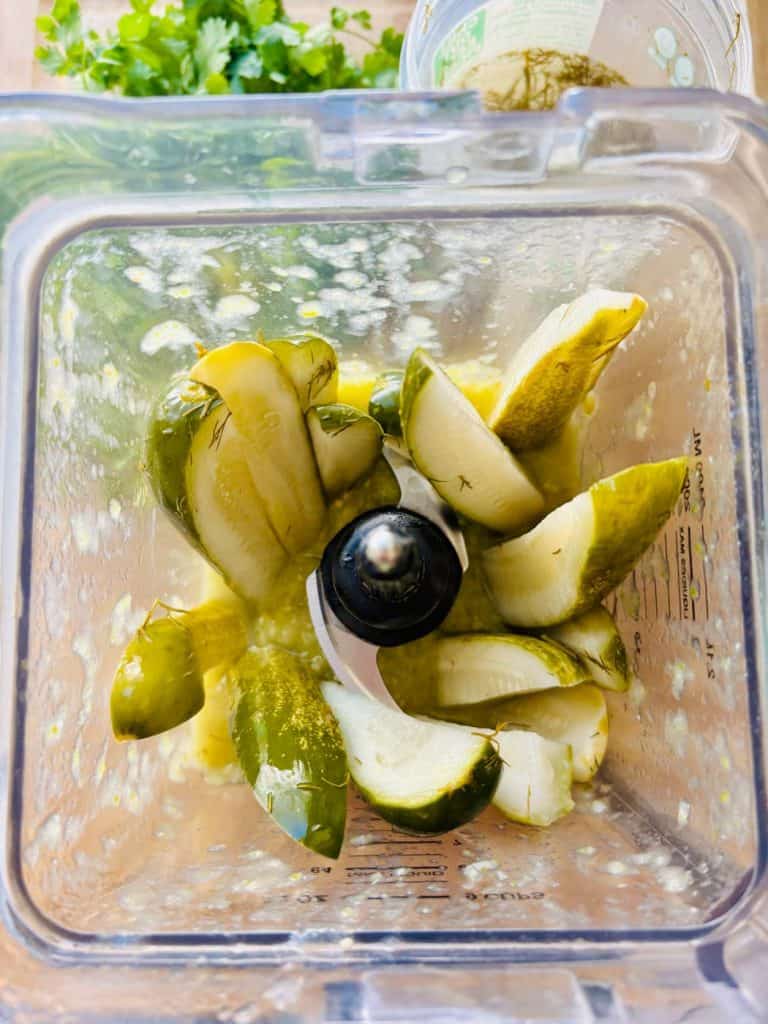
The secret ingredient? Crunchy dill pickles.
Crunchy vs Soggy Pickles
Have you noticed some cucumber pickles have a nice crisp snap to them, and others are, shall we say, somewhat limp? You know what I mean. Bendable and without crunch. What accounts for the difference?
Several factors determine the crispness of our favorite spear, including
- Type of cucumber. Shorter cucumber varieties like Persian and Kirby are better for pickling because of their shape. It's one of the few times in life that a short, fat body is a plus.
- Trimmed ends. The end of the cucumber that was attached to the pretty yellow flower contains an enzyme that is no bueno for keeping the crunch factor.
- Tannins. Just like the astringency they add to wine, tannins help pickles keep their snap. Easy way to add it: grape leaves!
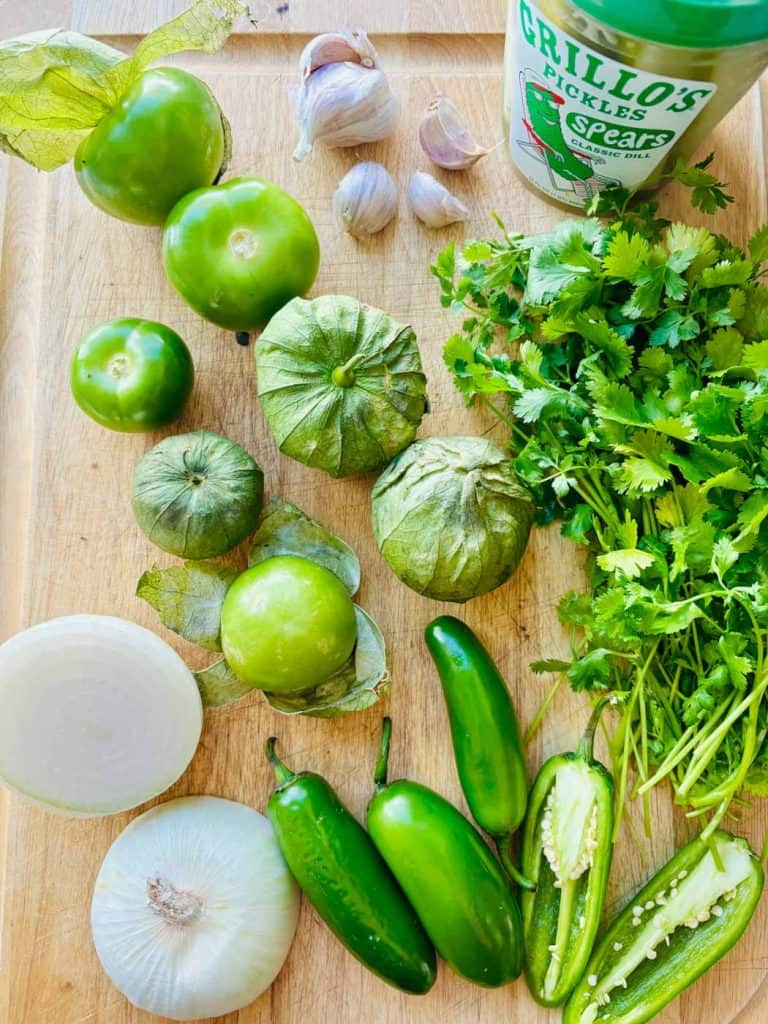
I find that refrigerator pickles are often crunchier than their shelf-stable counterparts. And that is what we are using today in this dill pickle salsa!
One of my favorite brands of refrigerator pickles is Grillo's. So, when I saw someone make a salsa from those pickles, I knew I had to try it! And wowwwwww. It's good.
Lessons Learned
- This is a little bit of a loosey-goosey recipe, as you might have guessed from the ingredient measurements. They don't have to be exact. It's important to taste as you go to add the right amount of lime juice and pickle juice for your taste.
- Note there is no added salt! Pickles provide that!
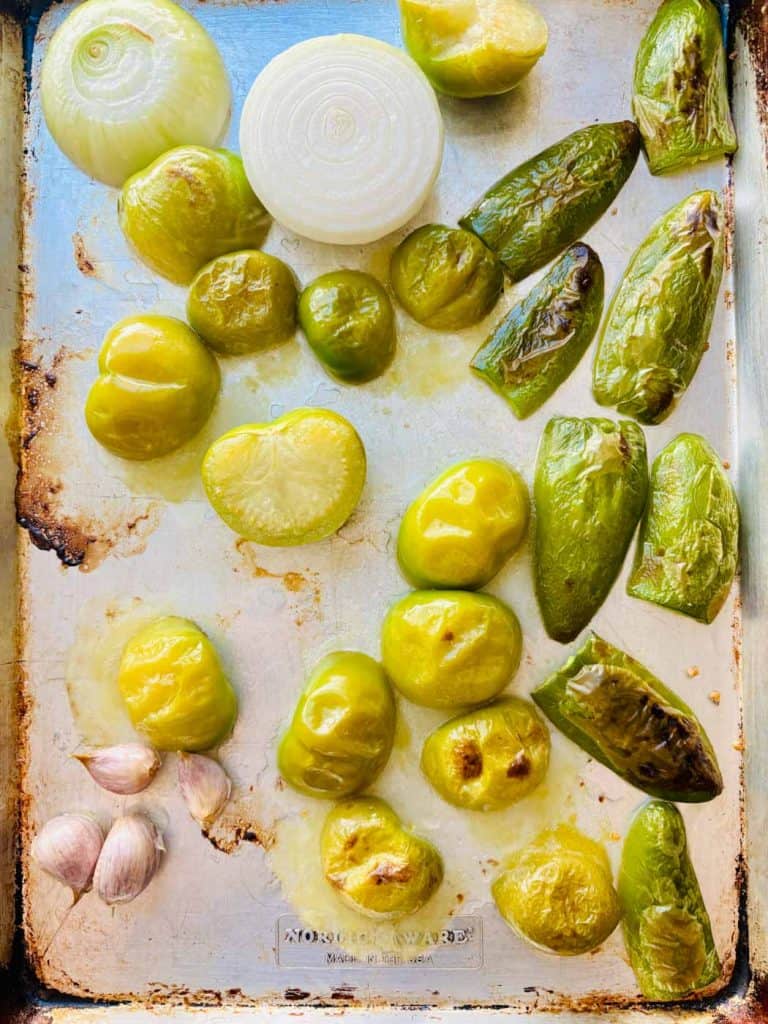
- An alternative to broiling the veggies in the oven is to char them in a skillet on the stovetop.
Hat Tips
Many thanks to Alfredo Garcia, aka Freddsters, for the genius dill pickle salsa recipe.